Sunday, January 28, 2007

Monitoring my progress

I've been trying to keep afloat amidst multiple simultaneous projects with minimal progress on each front. Between bitter cold and a desire to catch up on some much needed sleep, I still haven't been outside to make the couple (minor) remaining cuts. Perhaps this Tuesday I'll find the motivation to bang it out.

The one thing I really enjoy about making my own arcade cabinets is the fact that as long as the outside looks okay, the inside can be ugly as sin. Having said that, I got around to mounting the monitor in the Dragon's Lair cabinet using makeshift brackets. It feels like the end is finally in sight. I'm just a few pieces of interior support and a piece of bezel plexi away from completion. Oh yeah, I also need to wore up the controls to the PC. Here' hoping that's stress-free.

Click image thumbnails for bigger pics.
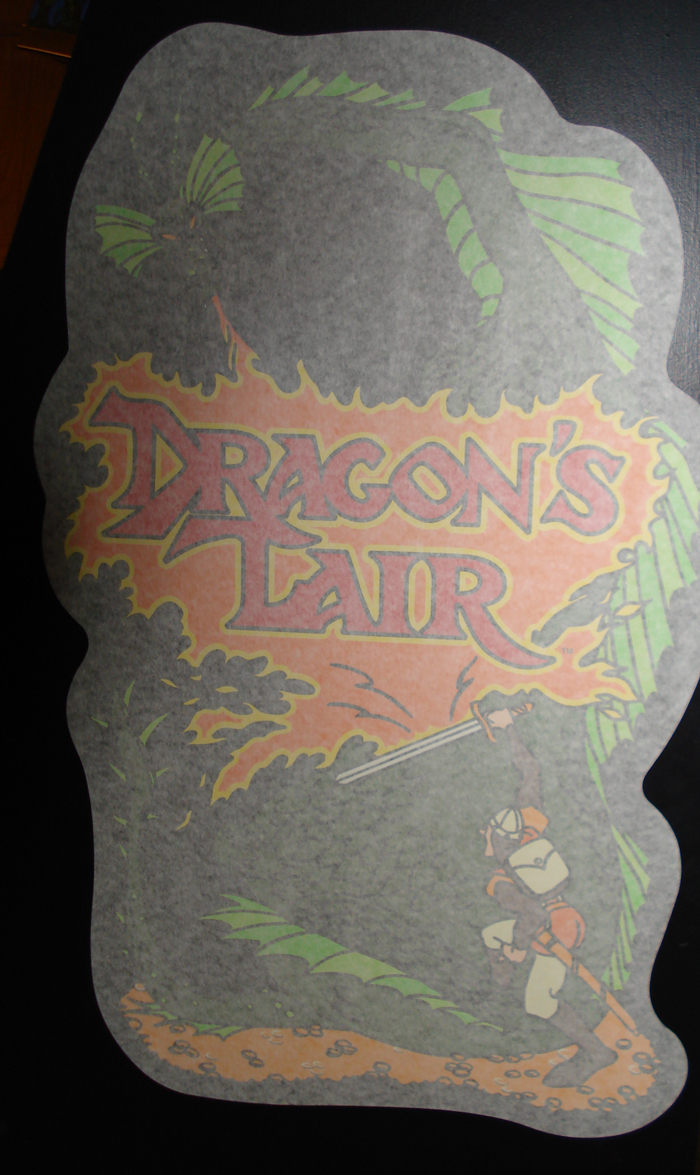


Prior to making the final monitor installation, I needed to apply the cabinet's side art. The mounting bracket bolt heads are visible through the art (as the original cabs), so this step was a necessary evil.
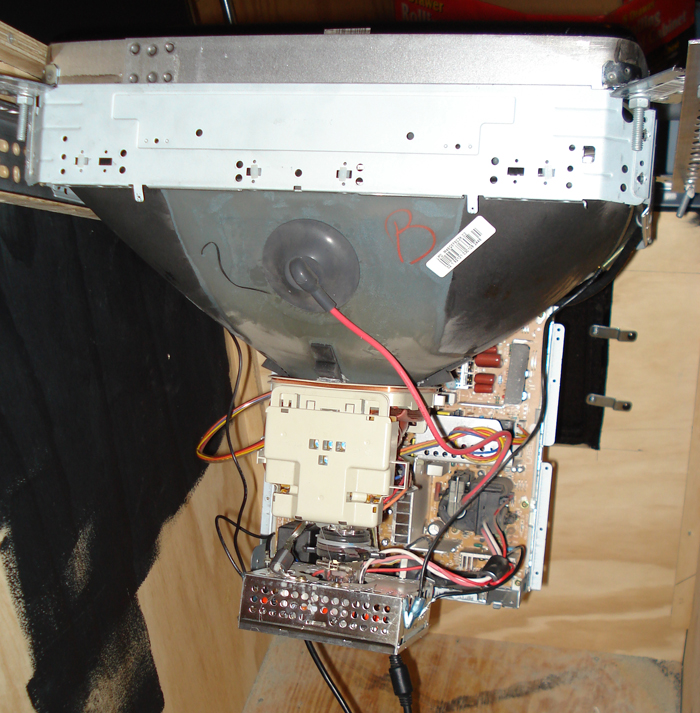


I used angle iron as mounting brackets and it worked out relatively well. It's strong enough to easily support the weight of the monitor and allows for some front/back adjustment.
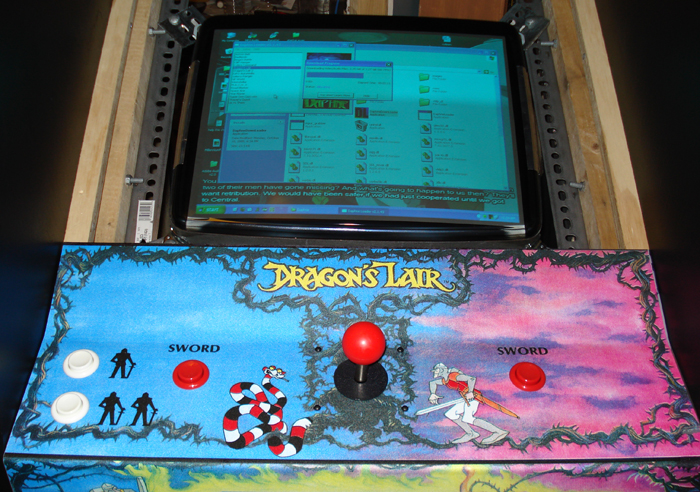


I had some concerns that I may have damaged the monitor from neglectful handling and ungodly cold conditions. The good news is that once I connected it to my pc for a test, it fired right up. The bad news is that the colors are way off. I can't get it to adjust properly with the monitor controls, so here's hoping I can correct it with the PC settings.
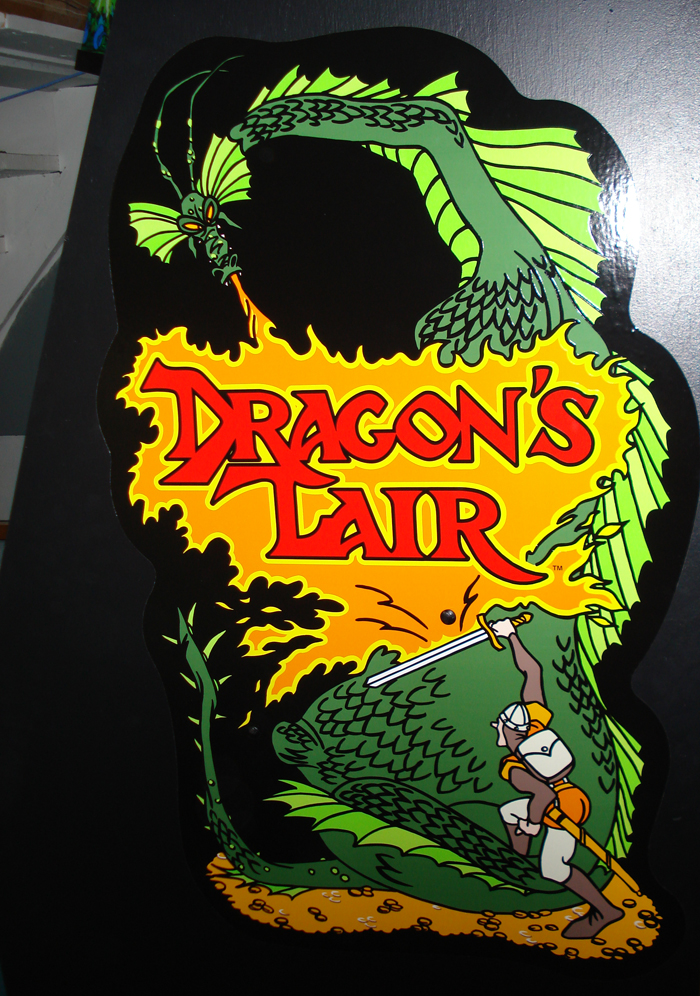


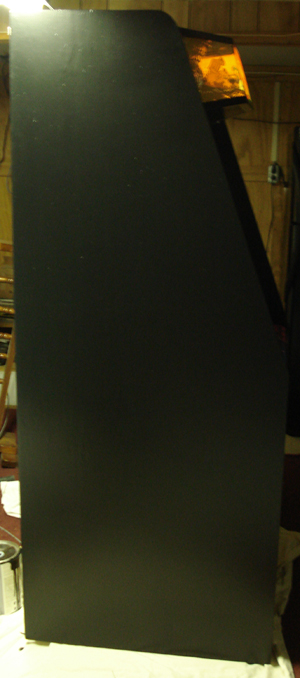
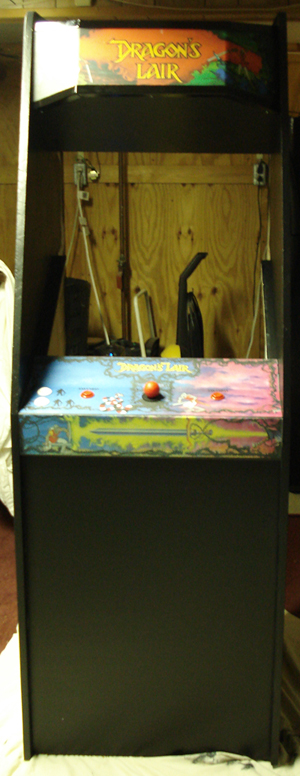
Once the monitor was mounted, it was safe enough to remove the side art protective covering. It doesn't look too shabby and well worth the cost of a quality product.

Wednesday, January 24, 2007

Making cents of it all

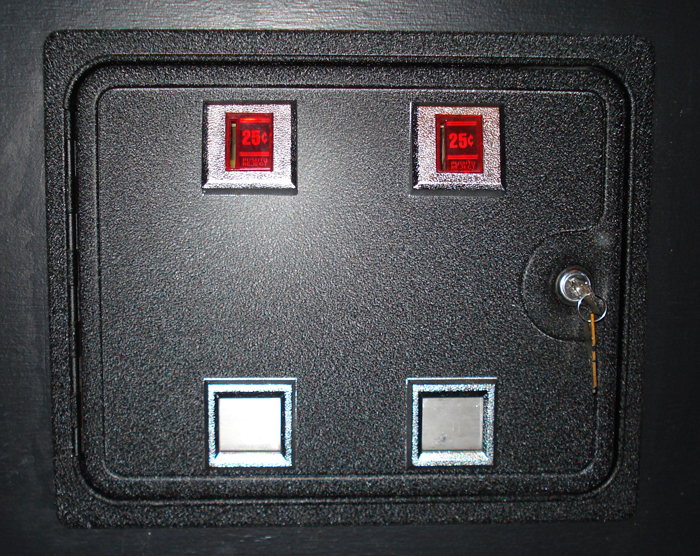
Progress has still been relatively slow due to snowy/cold weather and some personal issues (that are just fine now). I received my one and only ebay purchase for the Dragon's Lair cabinet, which was the coin door. This thing is a monster in comparison to the coin door on the Marvel Super Heroes cabinet. I'm just about ready to mount the monitor now. I still haven't figured out exactly how I'm going to go about things, but I'm sure a solution will present itself.

Click image thumbnails for bigger pics.


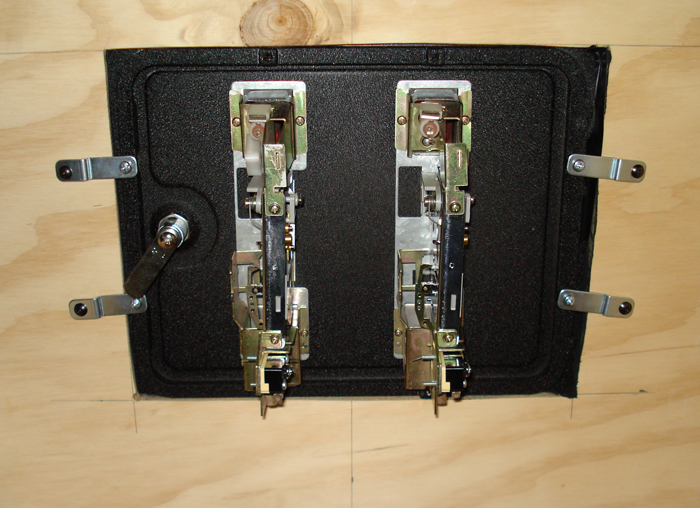
Mounting the coin door is pretty straightforward. Basically I just cut a hole and screwed it in place from inside.


Looks like its relatively straight and level. Once I get the PC inside, I'll be able to run power to the lights.


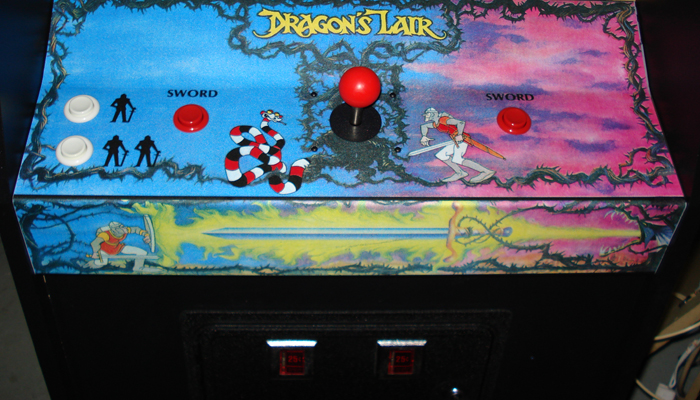
Here's a shot of the control panel with renewed joy in my joystick.

The snow is gone and it looks like the weekend will be clear, but cold (around 16°F for the high on Friday). I should be able to get outside and make the few remaining cuts to get the scoreboard mounted. Here's hoping, anyways ...

Friday, January 19, 2007

Just screw it

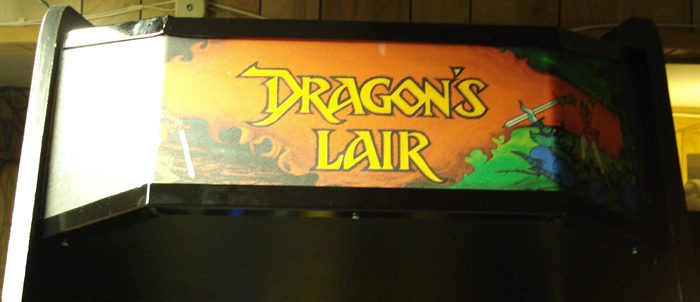
I know its been a while since I've updated. That's because, well ... I haven't done anything to warrant an update. Today I received the marquee screws and joystick carriage botls from QuarterArcade. Both the marquee and joystick are now secured in all their screwed in and bolted on goodness. The castors were also screwed into the bottom of the cabinet, so moving it around is quite simple. This was important because access to the innards is solely from behind. The castors are mounted recessed and you can't tell by looking at the cabinet that its on wheels. The last bit of screwing around involved mounting the marquee light. It was a simple process involving two screws. I plugged it in and was happy there was no hum coming from the light.

I also ordered a long, three-pronged power cord for the Dragon's Lair cabinet so I can have one nice black cord coming out of the back of the cabinet. Basically it will serve as an extension cord for the power strip mounted inside the cabinet. I still need to pick up the angle iron to make the monitor mounting brackets. I'm reluctant to mount the monitor until the coin door arrives because I'd have to remove the monitor to install the coin door. I'm also awaiting the arrival of the remaining components to make a custom cable for the scoreboard.

Nothing picture-worthy just yet. I'll be sure to snap some when I get to mounting the monitor and wire up the control panel.

Sunday, January 14, 2007

Back in black ... well, kinda

I suppose it can't be back in black if it wasn't black to begin with. I unintentionally decided to catch up on my sleep this weekend, so progress was again minimal. After giving the cabinet a coat of black paint, I retired to my bed for some much needed sleep. During my slumber, Becca gave the cabinet a second coat of paint. I awoke to a nicely painted arcade cab, but gave it another coat for good luck.

Once the paint was (relatively) dry, I installed the marquee brackets and mounted the marquee plexi. I'm temporarily using silver screws while I await the arrival of some black screws I ordered from QuarterArcade. I bought an 18" florescent marquee light last week, but haven't got around to mounting it just yet. Speaking of things I haven't done yet, I still need to install the speakers and scoreboard. The rain should be gone by Tuesday, so it should be a relatively quick and simple process to cut the back board and screw it all together.

Things are certainly coming along, regardless of my never-ending impatience. At this stage of the game (pun intended), I'm able to visualize the final product.

Click image thumbnails for bigger pics.


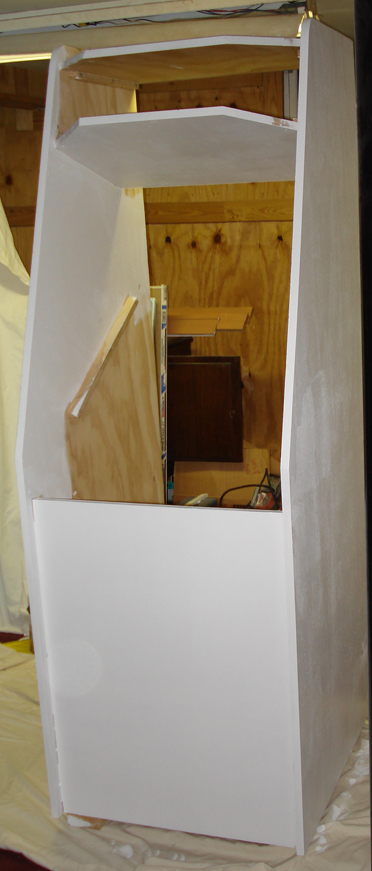
I'm relatively happy with the look of the black finish. If I had the cash on hand, I would have opted for the black leather-textured vinyl. In the end, paint was a much cheaper alternative. I can't apply the side art until I drill the holes for the monitor mounting brackets.


I also had to order some 3/16" carriage bolts from QuarterArcade to finish mounting the joystick and scoreboard plexi. Without them, there's no joy in my joystick.


Mounting the marquee made me marvel at its magnificence. I must admit that I'm a little disappointed with the overpriced marquee brackets. While the bottom bracket is ok, the top bracket was assembled half-assed. Maybe I'll make my own replacement brackets at some point.


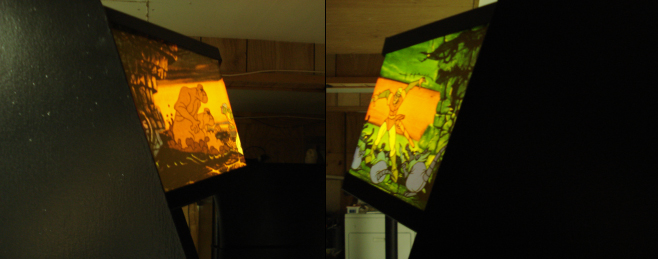
Profile shots of the lighted marquee. Pretty, isn't it?


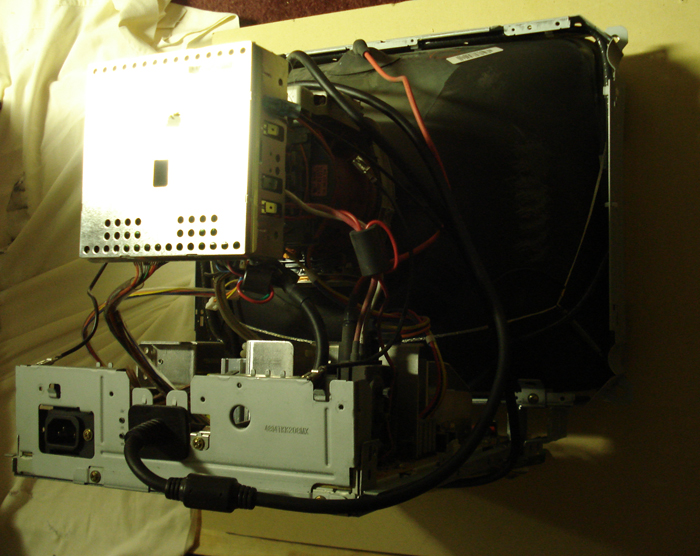
It's almost time to mount this sucker! This is that the inside of a computer monitor looks like. Becca and I held it in place to ensure it will fit. It looks like it will, but just barely. I plan on making my own custom mounting brackets for it some time this week. That should be fun ...

Friday, January 12, 2007

So much for my self-imposed deadline

Progress has been slow lately, but doing anything counts as progress, right? Between the cold weather and rain (that only seems to occur on my days off), I had to double my efforts to feel a sense of satisfaction. I've been to both Home Depot and Lowes and just can't seem to find 3/16" carriage bolts to mount the joystick and scoreboard plexi for the Dragon's Lair cabinet. Seems I'll have to order them online and wait days for them to arrive. Good thing I have plenty to keep me occupied.

I started my day (extremely late) by spraypainting the marquee brackets. Oh yeah, I also haven't had any luck finding 1/2" black screws to mount the brackets. You'd think I live in the middle of nowhere with my luck finding supplies! I filled the screw holes in the cabinet and sanded 'em down smooth. With the cosmetics out of the way, it was time to paint.

Click image thumbnails for bigger pics.


I rolled on two coats of primer and used a foam brush to get into the nooks and crannies.


The primer went on kind of thick (which is a good thing), but I really should have sanded between coats. Its too late now because I actually gave it a coat of black paint. It needs a second coat, so that's tops on my agenda for tomorrow.


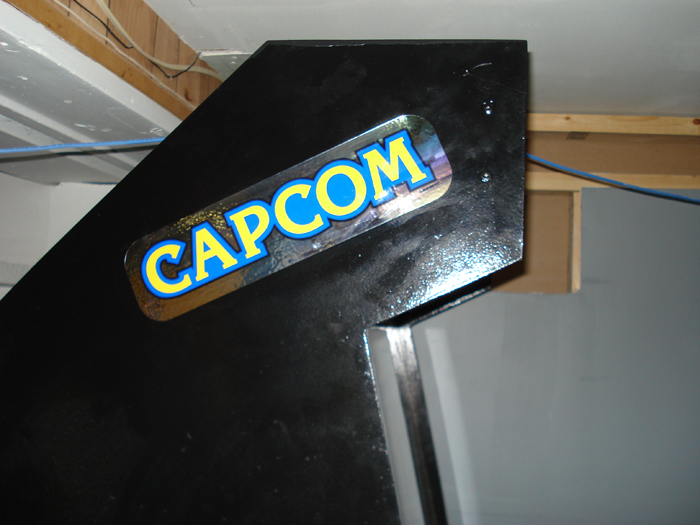
I haven't neglected my original project. I applied the Capcom side decal to the Marvel Superheroes cabinet. The art aspect is nearly complete, but I still need to mount the new monitor and reconditioned PC. Perhaps I'll tend to that while I await the items needed for the Dragon's Lair cabinet.

Tuesday, January 9, 2007

Sometimes it's better to do nothing at all ...

Time sure flies when you're having not so much fun. I didn't get nearly as much done today as I planned to. Things come up and I'm really hoping my distraction will eventually pay off. Perhaps more on that later. For now, let's review what I actually did today.

Click image thumbnails for bigger pics.


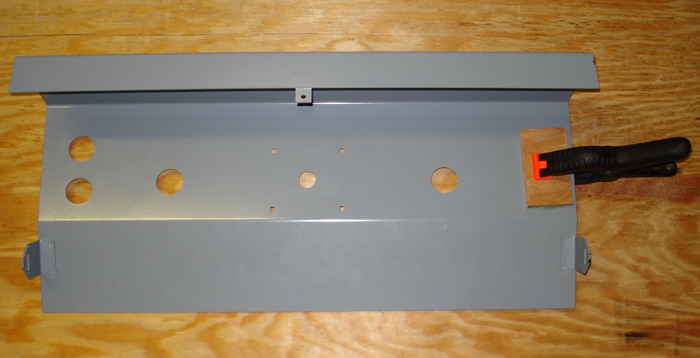
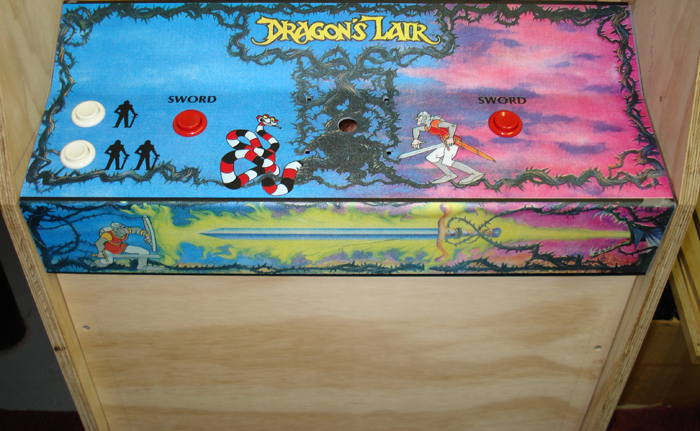
The control panel I purchased had three additional holes punched in it for a Space Ace conversion cab. Solving this problem was actually beneficial in the end. I used a 2-part epoxy to adhere a 2" by 3 1/2" block of wood, held firmly in place with my mighty grippers of grippiness. This stuff dries diamond hard in about 15 minutes. There's no way this thing is ever coming off. Eventually I'll mount the I-PAC2 to the wood.


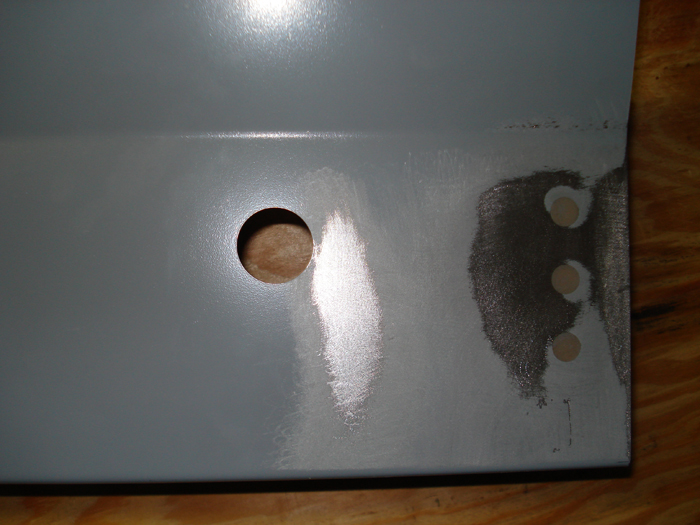
Once the block was dry, I flipped the control panel and used the same epoxy to fill in the holes. I used rough grit sandpaper in my vibrating sander to bring everything down to level. From the looks of things, I got a bit too excited while sanding.


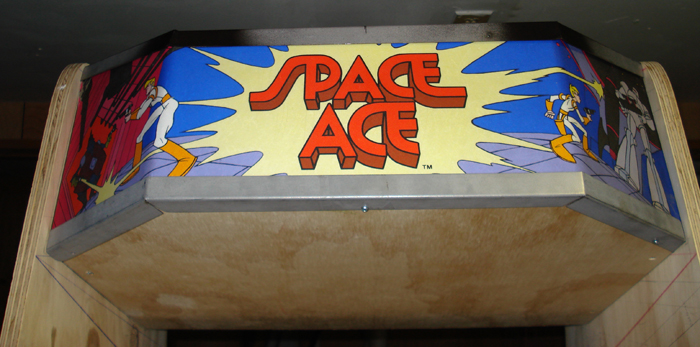
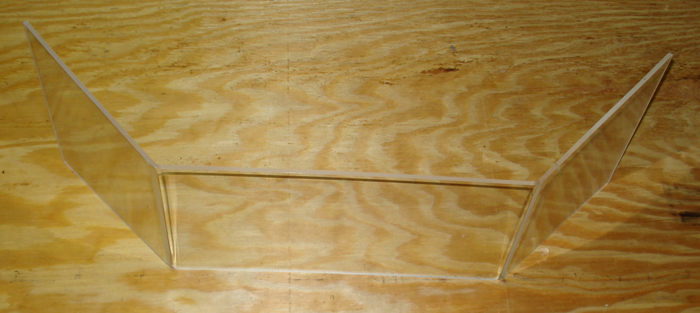
I received the marquee plexi and scoreboard very early this morning. It's kind of ironic that a Space Ace marquee was previously attached. I probably would have saved some cash on this project if I just made a Space Ace cabinet, considering I had both the proper control panel and marquee.


It took about an hour of applying heat from a hairdryer and slowly peeling back the marquee art before the plexi was relatively clean. It took about another half hour to clean up the residual glue with some tacky stuff remover.


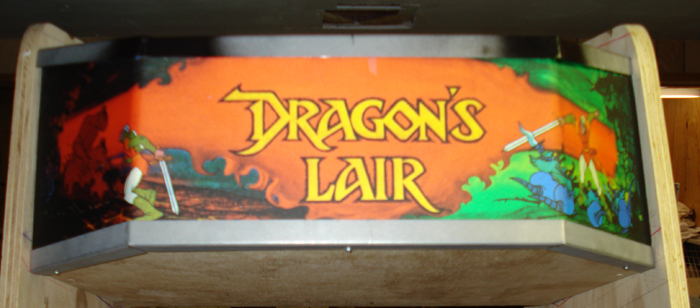
Applying the new Dragon's Lair marquee art from QuarterArcade was pretty straightforward. It went on relatively easy and mostly straight. The adhesive is uber sticky, so if you mess up, you're screwed. Can you see how screwed I am?


Finally, the control panel overlay was adhered. Man, I thought this would be a lot easier than the marquee art. I couldn't have been more wrong. It went on a little crooked, but I guess it'll be ok. If anyone asks, I'll just tell 'em I bought it that way.


I still have a lot of work to do before this thing is complete, but the cold weather has arived. Progress might be slow this week, but I'll continue to do what I can when I can. At least I don't have to buy anything else for the cabinet (that I know of).

Monday, January 8, 2007

Having an art attack

It rained this morning, so cutting wood outside was totally out of the question. Considering I have lots of non-cutting stuff to do, I decided to take advantage of the rain delay and tackle most of the art for the Marvel Superheroes cabinet. I had found some nice images online and cleaned/resized them in Photoshop. Once I burned them to disc, I took a ride over to the local Staples. (They printed the last batch of art for the cabinet and I was happy with the results.) When I woke up this evening, I headed back over there to pick up my printed pieces.

Click image thumbnails for bigger pics.


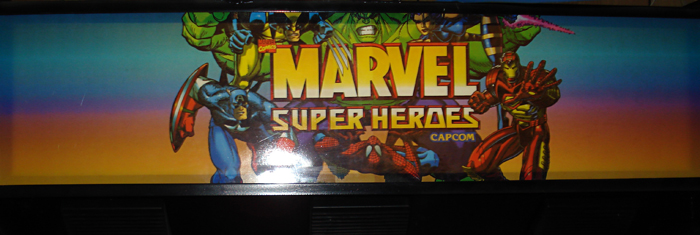
The new marquee finds a new home. At first I was nervous that I cropped the image too much, but it ended up being absolutely spot on.


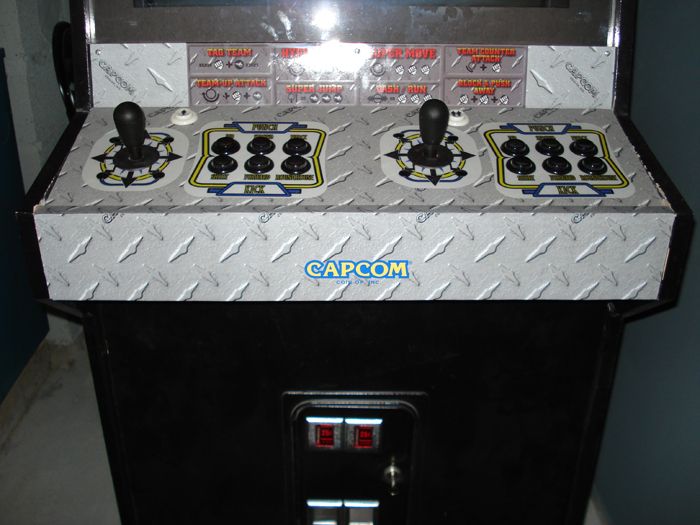
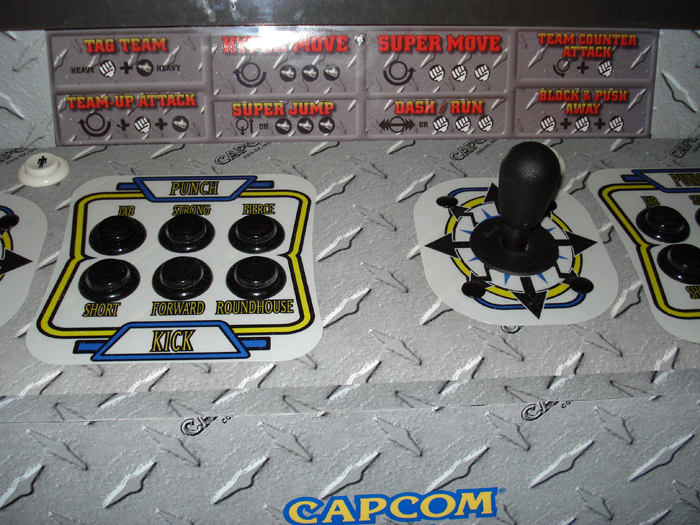
Here's the X-Men vs. Street Fighter instruction card I found online. Yes, I know it isn't an X-Men vs. Street Fighter arcade cabinet, but it just fit the motif perfectly. (And it doesn't actually say X-Men vs. Street Fighter on the card, so whatever.)


Since I had some scraps left over from the control panel overlay, I decided to intergrate the card with the modified control panel.


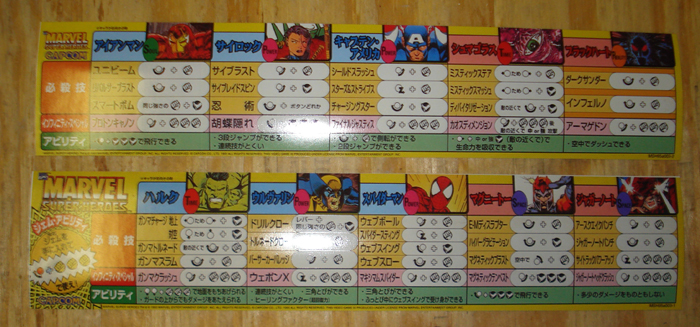
The Marvel Superheroes instruction cards will be mounted on the plexi bezel once I install the new monitor. Since Becca and I have had an anime theme running throughout the house for some time now, these Japanese cards seem most appropriate.


Making the most of being out and about, I also picked up some little things for the Dragon's Lair cabinet. Since moving the Marvel Superheroes cabinet is a real bitch, I decided to mount casters on the bottom of the Dragon's lair cabinet. I picked up 4 casters, a gallon of low luster black paint, a can of black spraypaint, wood filler, some paint trays and rollers. Looks like it'll be a sunny day tomorrow, allbeit cold, so I should be able to finish my cuts in the morning.

A couple of critical items for the Dragon's Lair cabinet will be ariving before noon tomorrow, so I'm really excited to get an early start. Im still slightly concerned about the cuts I made for the marquee, so I had the marquee plexi and scoreboard sent overnight to me. It sucked up more of my available funds for the project, but it will allow me to progress much quicker with the final assembly. Weather (and motivation) permitting, I think I'm still on track to have the build completely done by this weekend.