Sunday, March 25, 2012

Old Cabinet = New Project

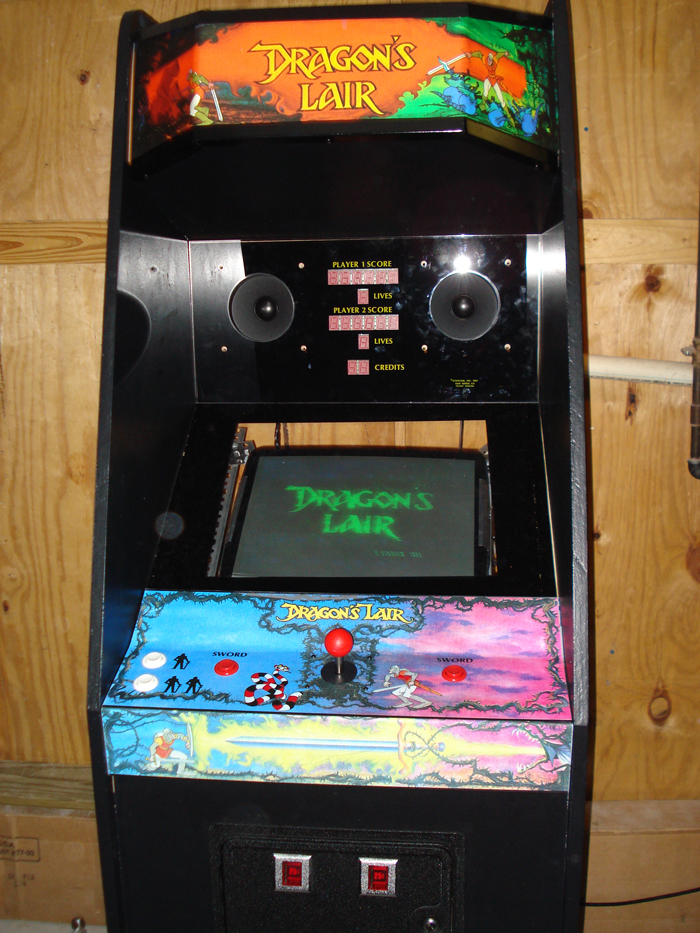
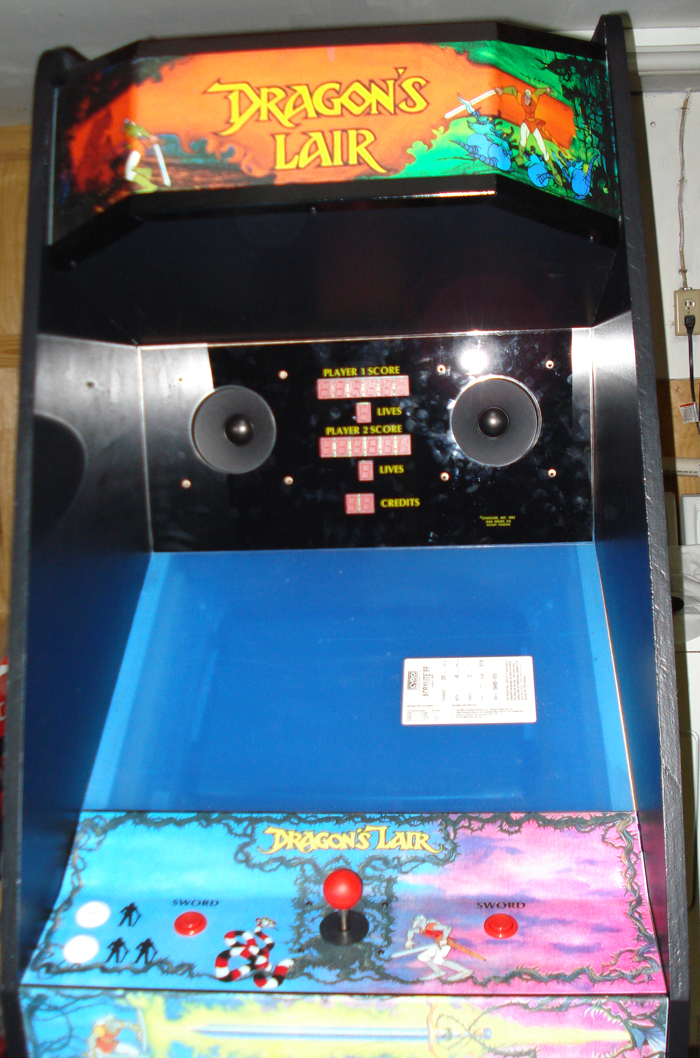
Yesterday I was given an X-Men vs. Street Fighter cabinet (purchased by an acquaintance from a local arcade finally closing its doors after 30+ years). Despite the struggle transporting it to my house, it now resides nestled between my Dragon's Lair and Marvel Super Heroes cabinets.


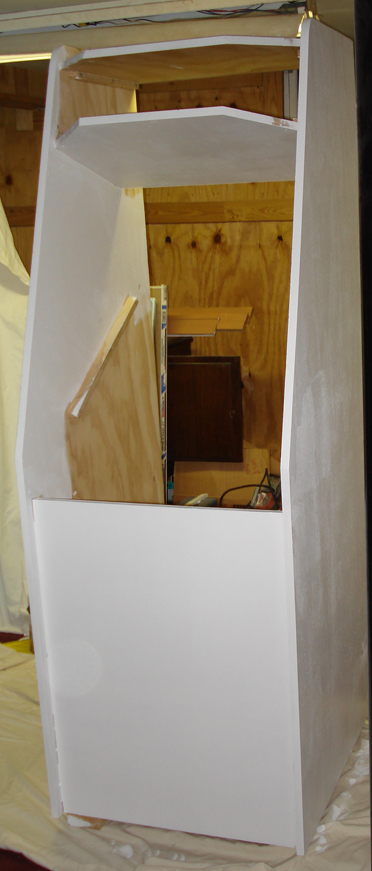
And while I am certainly grateful for the donation, this cabinet is definitely in need of some TLC. After connecting a couple wire harnesses and hunting down a computer power supply cord, I observed the following:

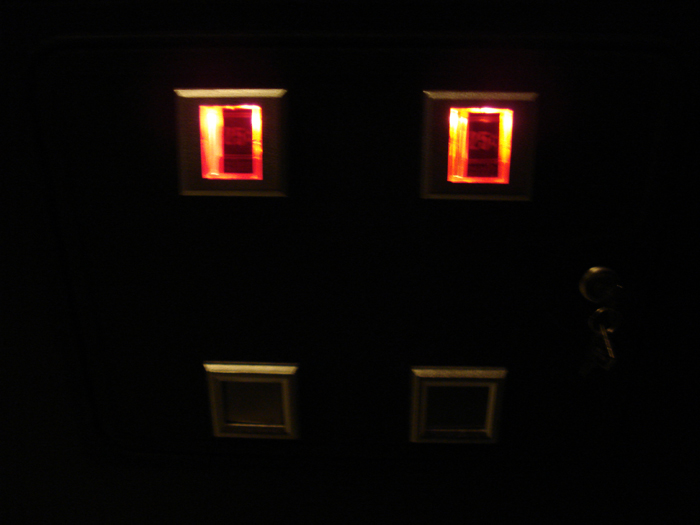
The good - the marquee looks good and lit up immediately, the fans work (albeit a bit loud), the game booted flawlessly, the coin slots illuminate and accept quarters, and the player 1 button works (along with the top row of punch buttons).

The bad - a lot of buttons seem to not function (due to some rough control panel removals by the previous owner), the monitor colors look bad, and there's some concerning cabinet structural issues.

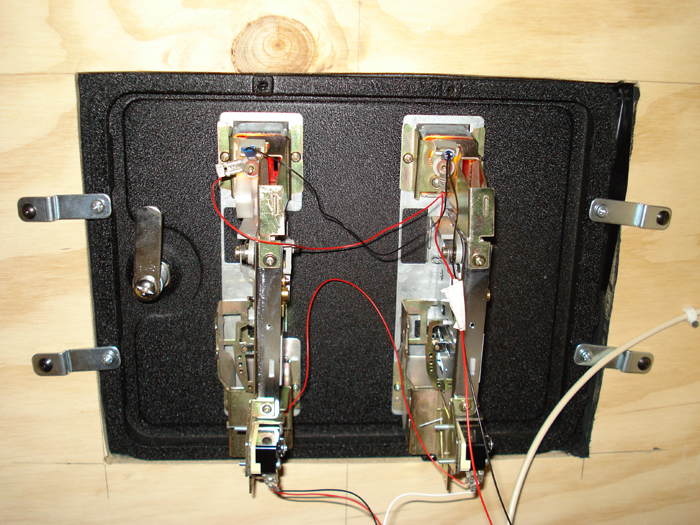
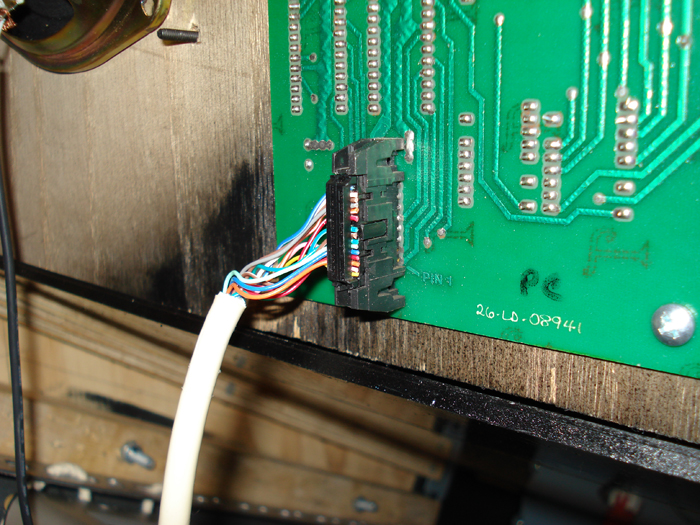
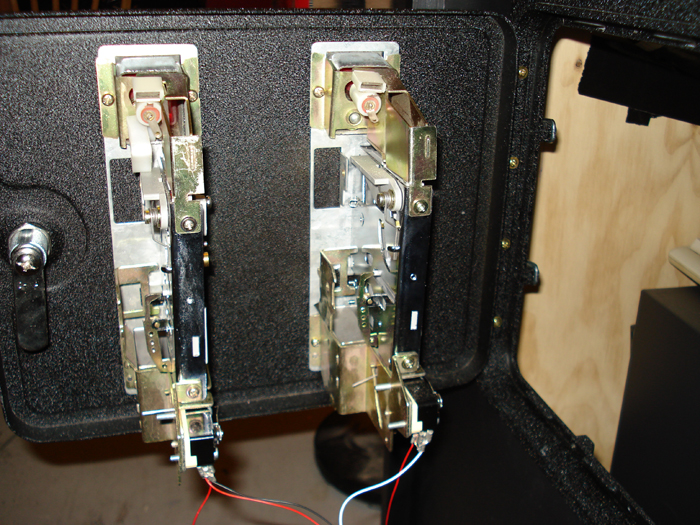
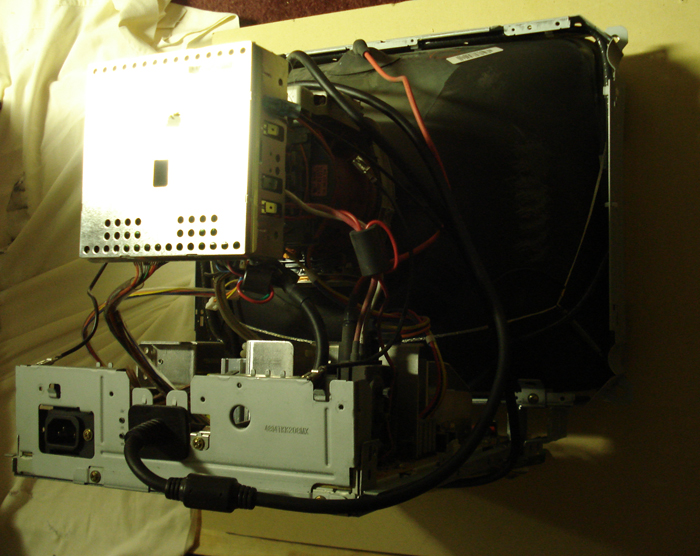
I removed the rear access panel to get a better look at the guts and noticed this:


Yep, this cabinet was originally Michael Jackson's Moonwalker manufactured by Sega in 1990.


In order to truly assess the workings, I need to run the "test" function. Unfortunately I can't even do that until I replace 3 of the 4 switches on the player 1 joystick. It seems that one is stuck (causing characters to jump constantly) and the other two appear to be completely shot. As much as I cringe at the thought, I may have to cannibalize my Marvel Super Heroes control panel - at least to determine the operational status. I'm not looking forward to running down the broken/disconnected wires. I'm also considering replacing the entire control panel board. Since the cabinet had numerous conversions, the control panel now looks like Swiss cheese.


The good news is that once I get the joystick functioning properly, its simple to access the test function directly from the JAMMA board.


This is my first JAMMA cabinet and I'm relatively excited. Its fairly simple to swap out the board and change the game. In fact, the JAMMA cover isn't X-Men vs. Street Fighter.


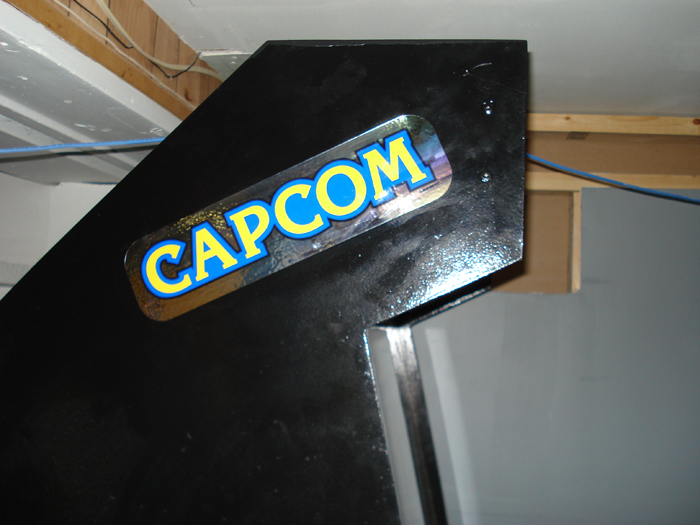
Additionally, the control panel is standard for Capcom. That means I could build a new one entirely with little effort.


As for the monitor, there's definitely an issue.


Once I can access the test function, I'll fiddle with the RGB settings. Right now I don't even want to think about the prospect of replacing the monitor. It also needs a good cleaning, but I don't think I'm qualified to be messing with high voltage equipment.


And ... that's all for now. Once I get the control panel up and running, I'll know a lot more. Updates to follow. With me luck!

Saturday, September 27, 2008

Its that time of year again

I don't get it myself, but for some odd reason I get all motivated to work on my arcade cabinets as the first chill of fall fills the air. I plan on spending the next couple months totally completing both cabinets. The tasks require minimal effort on my part, so progress will be measured against my procrastination aversion.

Sunday, March 11, 2007

Survey Says Gamers are "smart, sociable people"

From a classic episode of the arcade game show "Starcade" (1982-84). View episode #59 and jump to 13:42 to hear the entire results of the survey. Wanna bet Jack Thompson never cited this survey in court?


read more | digg story

Monday, March 5, 2007

Major progress with the "Drag-on" Lair project!
Wow, it has taken forever to find/buy the few remaining items I needed to wrap up this project. Thanks to the Laser Disc Game Classifieds over at the Dragon's Lair Project, I was able to buy a pair of authentic speaker grills. Shortly thereafter, I finally convinced Ethan over on the Daphne forums to assemble a custom scoreboard cable. I've had the grills for about a week now, and just received the cable today.

Click image thumbnails for bigger pics.


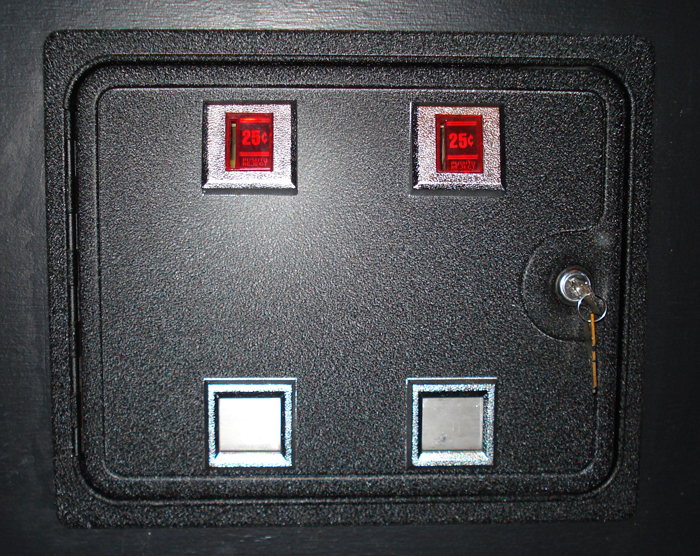
While patiently awaiting the remaining parts, I decided to wire up the coin door lights. It was quick and simple, receiving power from the PC.


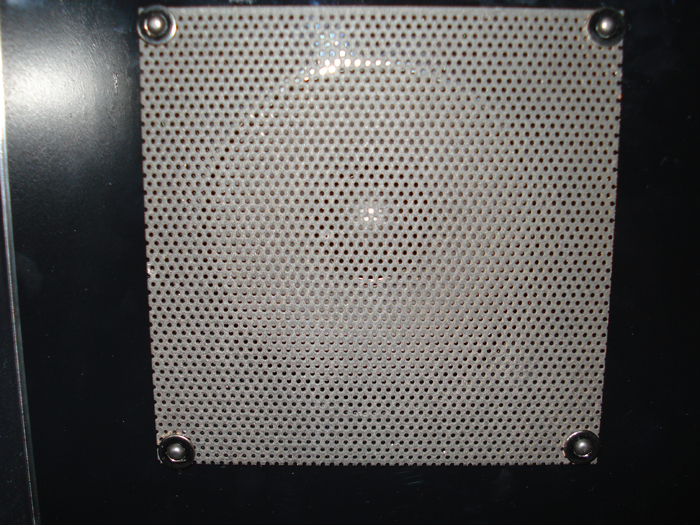
The grills were in really good shape for originals (although I wouldn't expect the grills to experience a lot of wear).


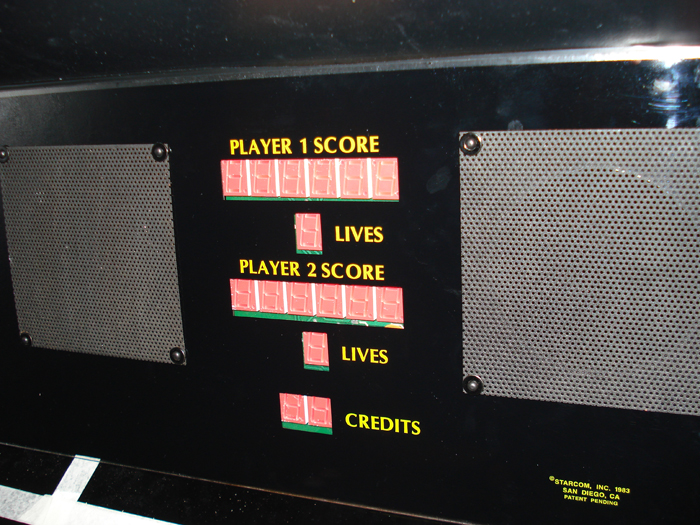
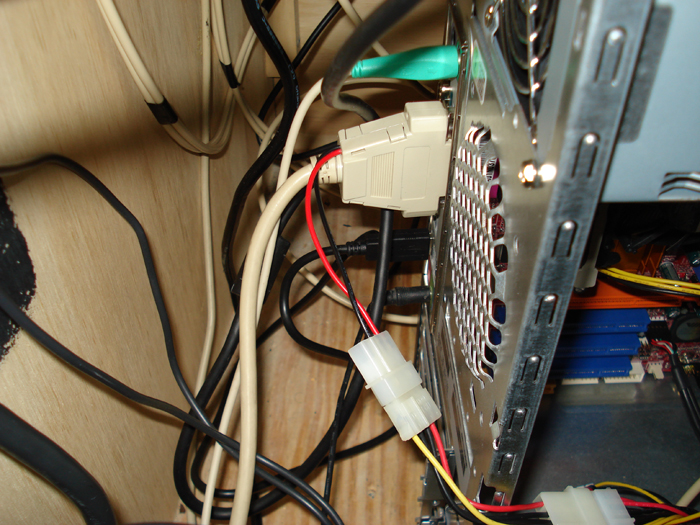
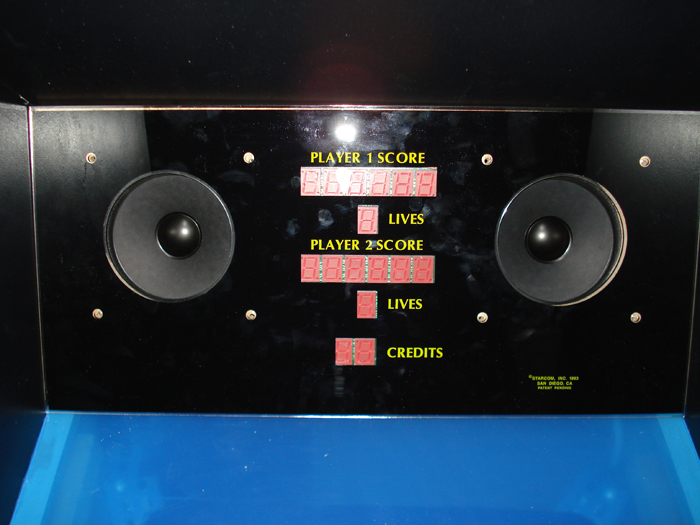
The custom scoreboard cable plugs into the parallel port of the PC and is powered by a connecton to the PC's power supply. The scoreboard end is a 16-pin keyed connector, so I didin't have to worry about frying the board when I fired it up.


At first I though I had either purchased a fried scoreboard or somehow done damage to it. While the board did display some characters, most of the LEDs didn't light up. I played a short game to see if the display would change, but to no avail. In a moment of (not-so-quiet) reflection, I remembered I needed to change the Dragon's Lair scoreboard setting to External LPT1. Once I made that correction, the scoreboard came to life in all its lit up LED glory. Yay!

The cabinet is now about 99% complete. All I need to do now is replace the cracked bezel plexi and raise the monitor to the proper height. After that, I'll need to attach the cabinet back board. I can confidently predict that my Dragon's Lair arcade cabinet project will be absolutely complete by the weekend. Yay again!

Tuesday, February 13, 2007

Out with the old ...

I've been really frustrated lately because it seems nothing wants to work properly. Damn you, Murphy! My two biggest problems (so far, anyways) have been the monitor and I-PAC control board. The monitor is just plain shot and I don't think there's much use in trying to get it repaired. As for the I-PAC ... who knows?

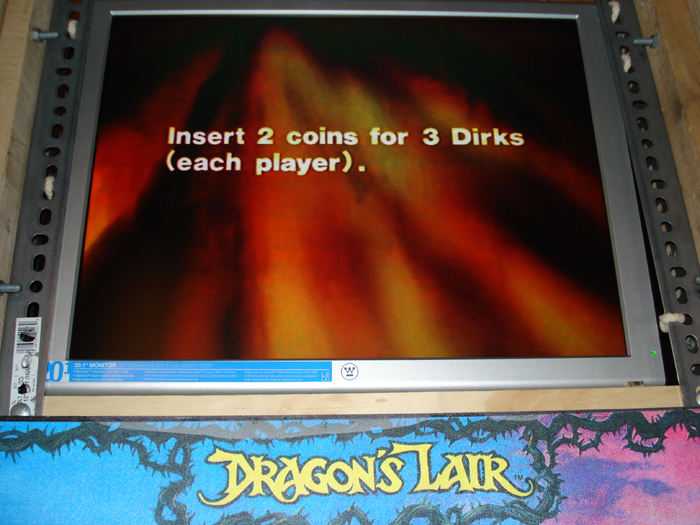
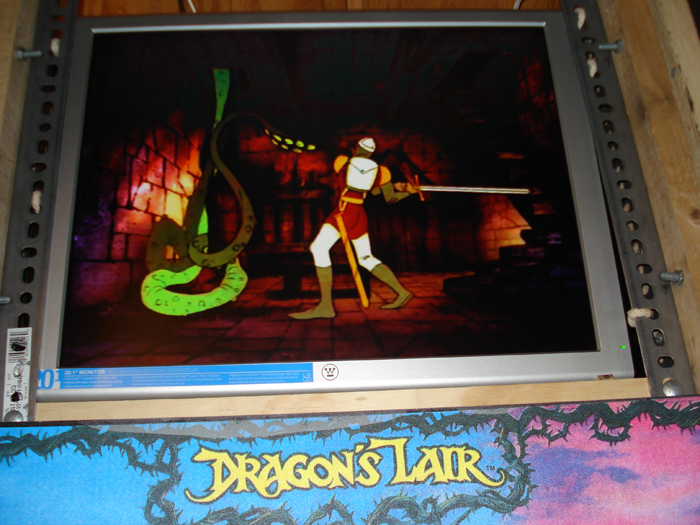
The remedy for the monitor situation was to take a ride over to our local Best Buy and pick up a new 20.1" LCD monitor. It looks great!

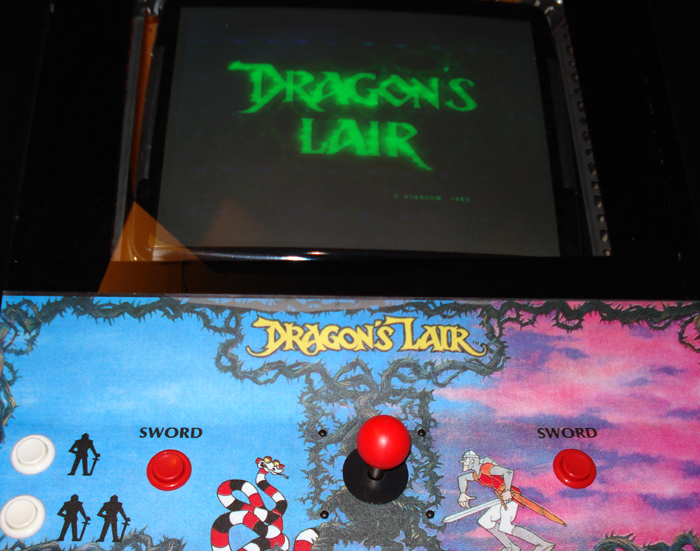
Compare the top picture (new monitor) to the previous monitor image:

Click image thumbnails for bigger pics.


Yep, its like night and day.

Here's a few more pics of the new monitor:


The game plays back real clean. The darkness and ghosting in the above images is from the camera and doesn't represent what the monitor is actually displaying (quality-wise). It was a wise choice to upgrade the monitor, especially considering 20" monitors are the norm in Dragon's Lair cabinets. Now what to do with the extra 0.1"? Hmm...


The I-PAC board is a whole different issue altogether. It worked fine, then all of a sudden it didn't. I really don't know where the problem lies. The original I-PAC was connected via a PS/2 cable to the PC. I ordered a new one, connecting via USB, and it works like a charm. I might check out the PS/2 I-PAC on the Marvel cabinet to see if it works. If it does, who knows ... maybe there will be a third cabinet on the horizon.


Long story short, the Dragon's Lair arcade cabinet works! I still need to replace the monitor plexi, since the first one cracked from bringing it inside after sitting outside in extremely cold weather (around -12°F) for a few hours. That's easy enough. I'm much more concerned with wiring the scoreboard. Yes, that still has me quite nervous. At least I get to play Dragon's Lair in all its arcade glory for the time being.

Tuesday, February 6, 2007

Come together, right now (damnit!)

Becca sure loves me. How do I know? She fixes everything I break and has the patience of a saint. Me? ... not so much. Its thanks to her that I can type up this update.

Click image thumbnails for bigger pics.


I wired up the control panel, taking up more than an hour of wire-stripping fun, and ... nothing happened. I went over my wiring, consulted the online diagram, and ... nothing again. Having finally reaching my peak of fustration, Becca came to my rescue and corrected my half-assed wiring job.


Becca also recently finished hotrodding the workhorse of the operation, a Windows PC with a new motherboard and mammoth RAM.


Since the control panel and PC were all wired up and rearing to go, it only made sense to go ahead and wire up the coin door. This was by far the easiest of the wiring jobs.


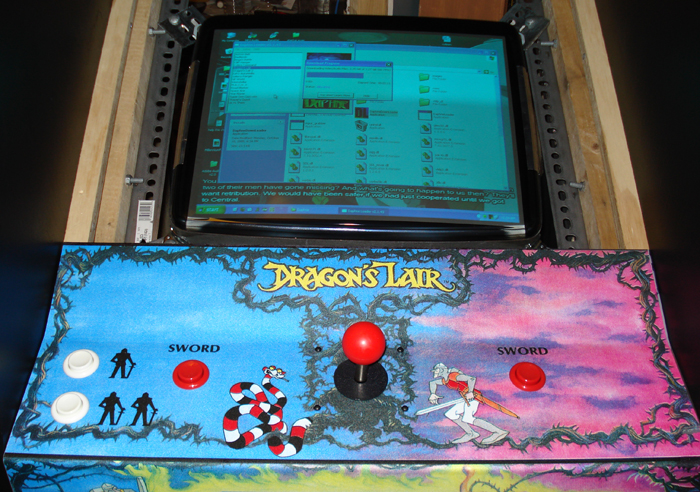
Yep, the monitor looks pretty shot. As bad as it is, the picture is an optical illusion. The Dragon's Lair text doesn't look green to the naked eye. Must be a combination of the camera flash and the monitor plexi. The colors are washed out and everything has a yellowish tint. I admit I was a bit rough with the monitor once it was removed from its housing. I'll replace it with a flat LCD in the near future.


Things are coming together somewhat nicely. Dragon's Lair is playable and accepts quarters for credits. I still need to mount the scoreboard plexi, wire up the scoreboard, and replace the monitor. I'm really nervous about frying the scoreboard, so that part should be fun. Replacing the monitor will be quick and simple, but somewhat unexpected and not accounted for in my budget. Mounting the scoreboard plexi is the most simple of the three, so I think that's what y'all will be seeing by my next update. Oh, and I still desperately need some speaker grills ...

Tuesday, January 30, 2007

Settling the score(board)

There simply aren't enough hours in a day, especially on my day off. I woke up pretty early and picked up some plexi for the monitor bezel. When I returned home I immediately cut the few remaining pieces of wood needed for interior bracing.

Click image thumbnails for bigger pics.


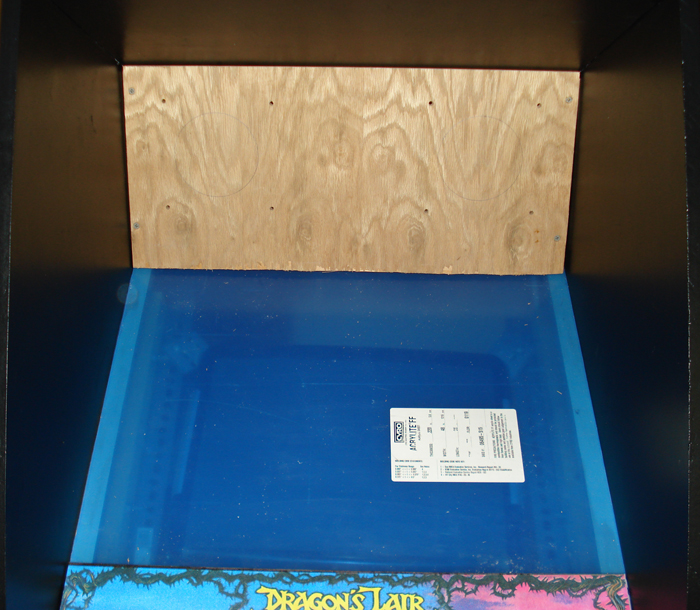
No, the plexi isn't blue - its clear. That's just the protective covering. Surprisingly the plexi fit in perfectly. Once I had it temporarily in place, I got to work on the scoreboard support.


I cut the holes for the speakers and scoreboard, then mounted them with some wood screws. The speakers are smaller then they should be, so I'm considering replacing them at some point.


Naturally I don't have the carriage bolts necessary to permanently attach the scoreboard plexi, so I just kind of wedged it in place for the time being. I really need some speaker grills now ...


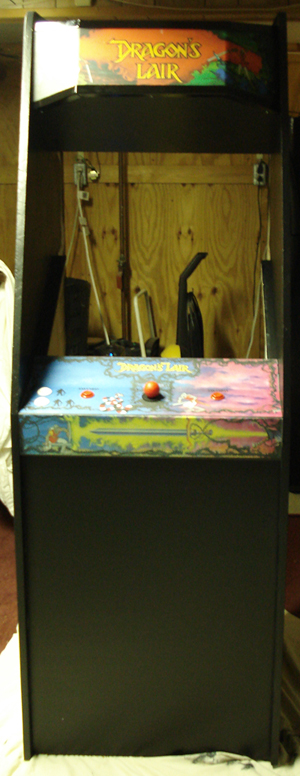
This is pretty much how the completed cabinet will look. Aside from an electronic nightmare, all I need to do is black out the areas of the plexi around the monitor.

The newly hotrodded PC should be ready for the big move into the cabinet by this weekend. Who knows ... I could have a fully-functioning Dragons Lair cabinet by this Sunday.

Sunday, January 28, 2007

Monitoring my progress

I've been trying to keep afloat amidst multiple simultaneous projects with minimal progress on each front. Between bitter cold and a desire to catch up on some much needed sleep, I still haven't been outside to make the couple (minor) remaining cuts. Perhaps this Tuesday I'll find the motivation to bang it out.

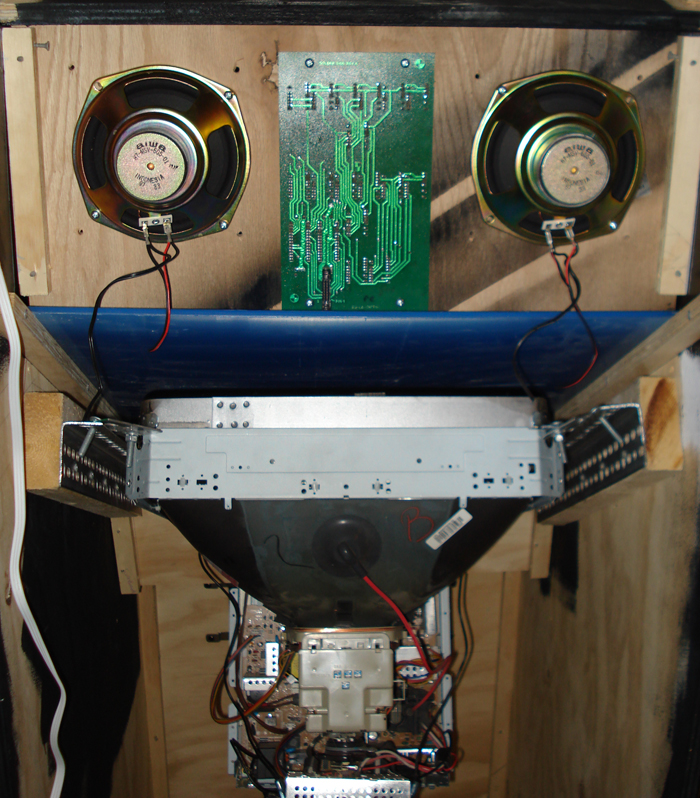
The one thing I really enjoy about making my own arcade cabinets is the fact that as long as the outside looks okay, the inside can be ugly as sin. Having said that, I got around to mounting the monitor in the Dragon's Lair cabinet using makeshift brackets. It feels like the end is finally in sight. I'm just a few pieces of interior support and a piece of bezel plexi away from completion. Oh yeah, I also need to wore up the controls to the PC. Here' hoping that's stress-free.

Click image thumbnails for bigger pics.


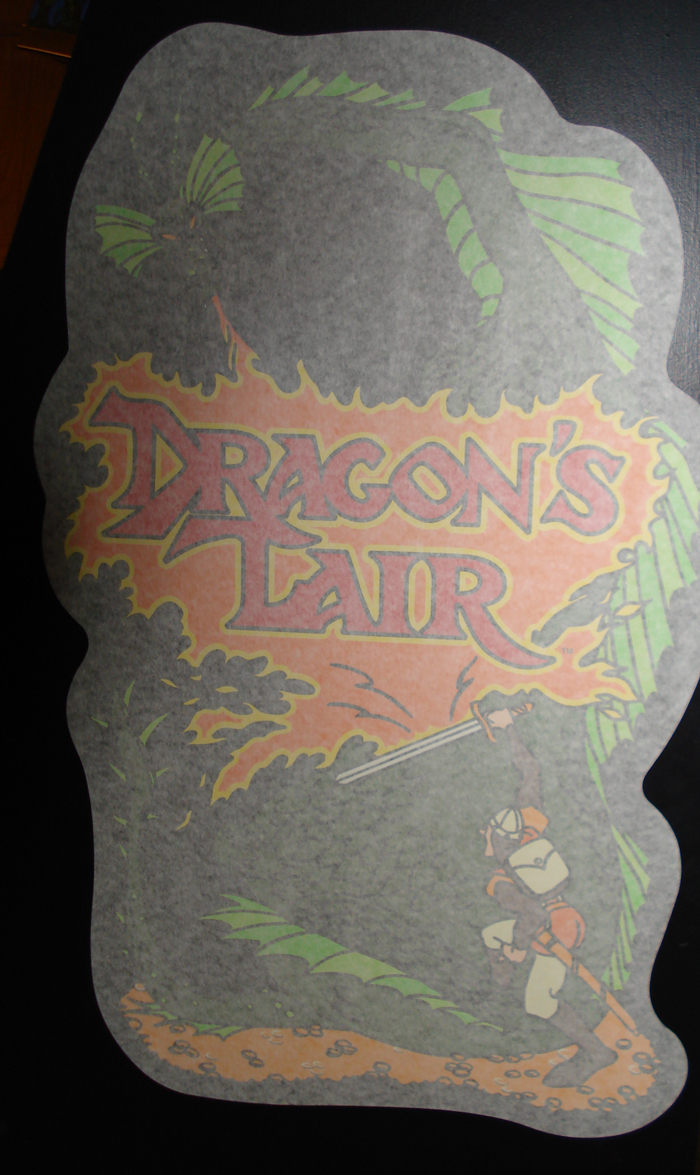
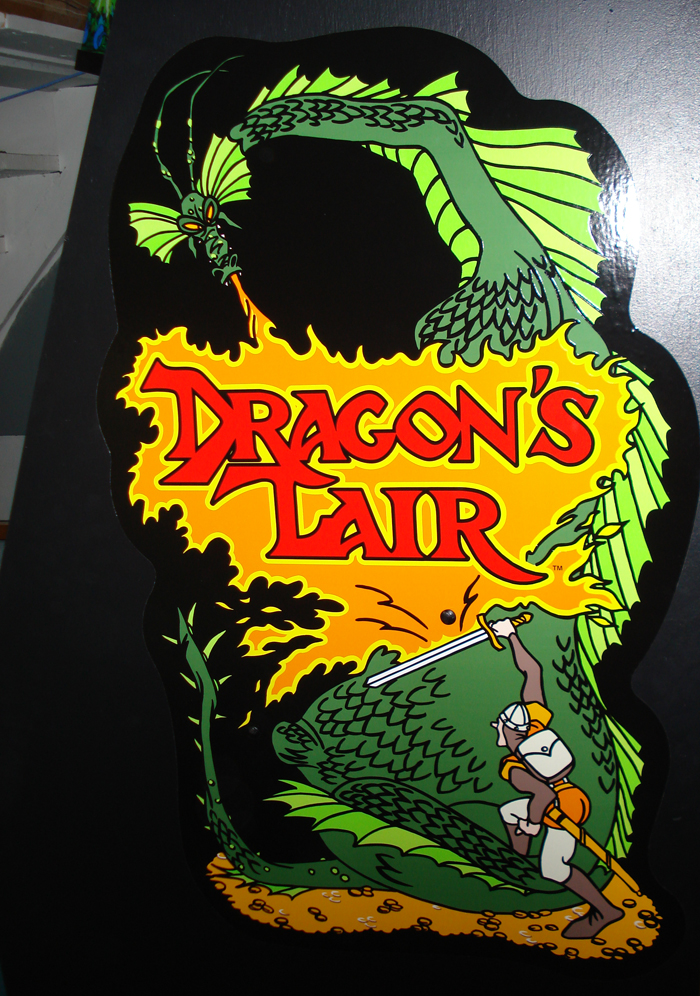
Prior to making the final monitor installation, I needed to apply the cabinet's side art. The mounting bracket bolt heads are visible through the art (as the original cabs), so this step was a necessary evil.


I used angle iron as mounting brackets and it worked out relatively well. It's strong enough to easily support the weight of the monitor and allows for some front/back adjustment.


I had some concerns that I may have damaged the monitor from neglectful handling and ungodly cold conditions. The good news is that once I connected it to my pc for a test, it fired right up. The bad news is that the colors are way off. I can't get it to adjust properly with the monitor controls, so here's hoping I can correct it with the PC settings.


Once the monitor was mounted, it was safe enough to remove the side art protective covering. It doesn't look too shabby and well worth the cost of a quality product.

Wednesday, January 24, 2007

Making cents of it all

Progress has still been relatively slow due to snowy/cold weather and some personal issues (that are just fine now). I received my one and only ebay purchase for the Dragon's Lair cabinet, which was the coin door. This thing is a monster in comparison to the coin door on the Marvel Super Heroes cabinet. I'm just about ready to mount the monitor now. I still haven't figured out exactly how I'm going to go about things, but I'm sure a solution will present itself.

Click image thumbnails for bigger pics.


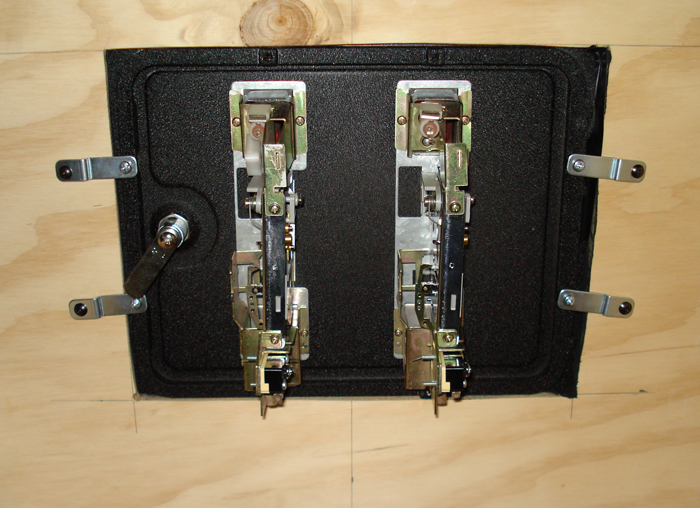
Mounting the coin door is pretty straightforward. Basically I just cut a hole and screwed it in place from inside.


Looks like its relatively straight and level. Once I get the PC inside, I'll be able to run power to the lights.


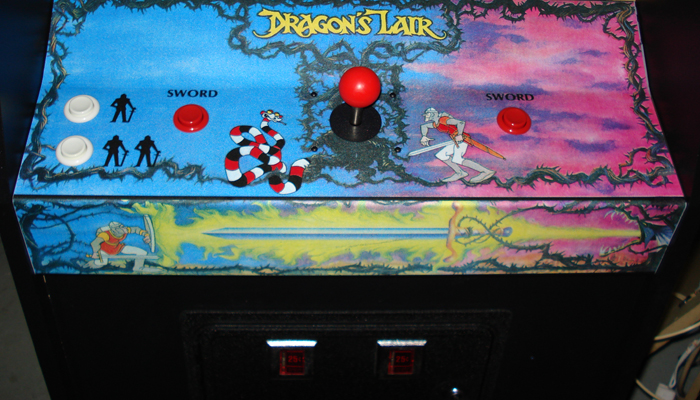
Here's a shot of the control panel with renewed joy in my joystick.

The snow is gone and it looks like the weekend will be clear, but cold (around 16°F for the high on Friday). I should be able to get outside and make the few remaining cuts to get the scoreboard mounted. Here's hoping, anyways ...

Friday, January 19, 2007

Just screw it

I know its been a while since I've updated. That's because, well ... I haven't done anything to warrant an update. Today I received the marquee screws and joystick carriage botls from QuarterArcade. Both the marquee and joystick are now secured in all their screwed in and bolted on goodness. The castors were also screwed into the bottom of the cabinet, so moving it around is quite simple. This was important because access to the innards is solely from behind. The castors are mounted recessed and you can't tell by looking at the cabinet that its on wheels. The last bit of screwing around involved mounting the marquee light. It was a simple process involving two screws. I plugged it in and was happy there was no hum coming from the light.

I also ordered a long, three-pronged power cord for the Dragon's Lair cabinet so I can have one nice black cord coming out of the back of the cabinet. Basically it will serve as an extension cord for the power strip mounted inside the cabinet. I still need to pick up the angle iron to make the monitor mounting brackets. I'm reluctant to mount the monitor until the coin door arrives because I'd have to remove the monitor to install the coin door. I'm also awaiting the arrival of the remaining components to make a custom cable for the scoreboard.

Nothing picture-worthy just yet. I'll be sure to snap some when I get to mounting the monitor and wire up the control panel.

Sunday, January 14, 2007

Back in black ... well, kinda

I suppose it can't be back in black if it wasn't black to begin with. I unintentionally decided to catch up on my sleep this weekend, so progress was again minimal. After giving the cabinet a coat of black paint, I retired to my bed for some much needed sleep. During my slumber, Becca gave the cabinet a second coat of paint. I awoke to a nicely painted arcade cab, but gave it another coat for good luck.

Once the paint was (relatively) dry, I installed the marquee brackets and mounted the marquee plexi. I'm temporarily using silver screws while I await the arrival of some black screws I ordered from QuarterArcade. I bought an 18" florescent marquee light last week, but haven't got around to mounting it just yet. Speaking of things I haven't done yet, I still need to install the speakers and scoreboard. The rain should be gone by Tuesday, so it should be a relatively quick and simple process to cut the back board and screw it all together.

Things are certainly coming along, regardless of my never-ending impatience. At this stage of the game (pun intended), I'm able to visualize the final product.

Click image thumbnails for bigger pics.


I'm relatively happy with the look of the black finish. If I had the cash on hand, I would have opted for the black leather-textured vinyl. In the end, paint was a much cheaper alternative. I can't apply the side art until I drill the holes for the monitor mounting brackets.


I also had to order some 3/16" carriage bolts from QuarterArcade to finish mounting the joystick and scoreboard plexi. Without them, there's no joy in my joystick.


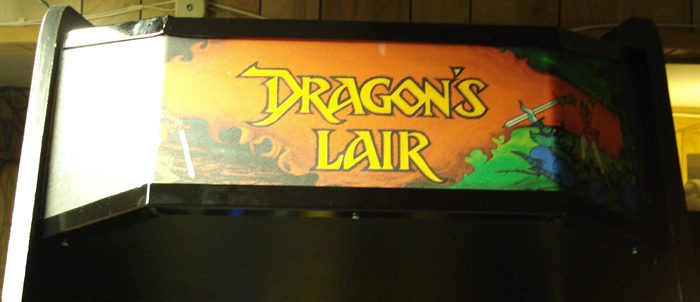
Mounting the marquee made me marvel at its magnificence. I must admit that I'm a little disappointed with the overpriced marquee brackets. While the bottom bracket is ok, the top bracket was assembled half-assed. Maybe I'll make my own replacement brackets at some point.


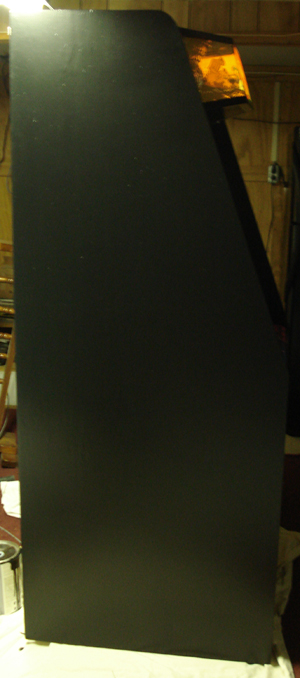
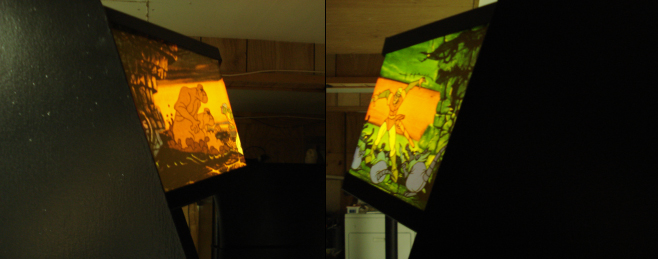
Profile shots of the lighted marquee. Pretty, isn't it?


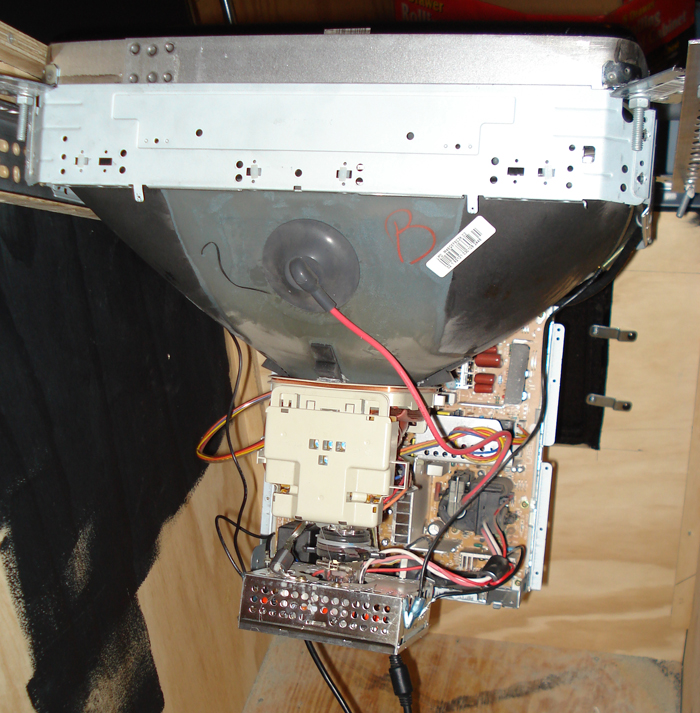
It's almost time to mount this sucker! This is that the inside of a computer monitor looks like. Becca and I held it in place to ensure it will fit. It looks like it will, but just barely. I plan on making my own custom mounting brackets for it some time this week. That should be fun ...

Friday, January 12, 2007

So much for my self-imposed deadline

Progress has been slow lately, but doing anything counts as progress, right? Between the cold weather and rain (that only seems to occur on my days off), I had to double my efforts to feel a sense of satisfaction. I've been to both Home Depot and Lowes and just can't seem to find 3/16" carriage bolts to mount the joystick and scoreboard plexi for the Dragon's Lair cabinet. Seems I'll have to order them online and wait days for them to arrive. Good thing I have plenty to keep me occupied.

I started my day (extremely late) by spraypainting the marquee brackets. Oh yeah, I also haven't had any luck finding 1/2" black screws to mount the brackets. You'd think I live in the middle of nowhere with my luck finding supplies! I filled the screw holes in the cabinet and sanded 'em down smooth. With the cosmetics out of the way, it was time to paint.

Click image thumbnails for bigger pics.


I rolled on two coats of primer and used a foam brush to get into the nooks and crannies.


The primer went on kind of thick (which is a good thing), but I really should have sanded between coats. Its too late now because I actually gave it a coat of black paint. It needs a second coat, so that's tops on my agenda for tomorrow.


I haven't neglected my original project. I applied the Capcom side decal to the Marvel Superheroes cabinet. The art aspect is nearly complete, but I still need to mount the new monitor and reconditioned PC. Perhaps I'll tend to that while I await the items needed for the Dragon's Lair cabinet.